Indoor Wall Mount Bike Rack: Store Road & MTB Bikes
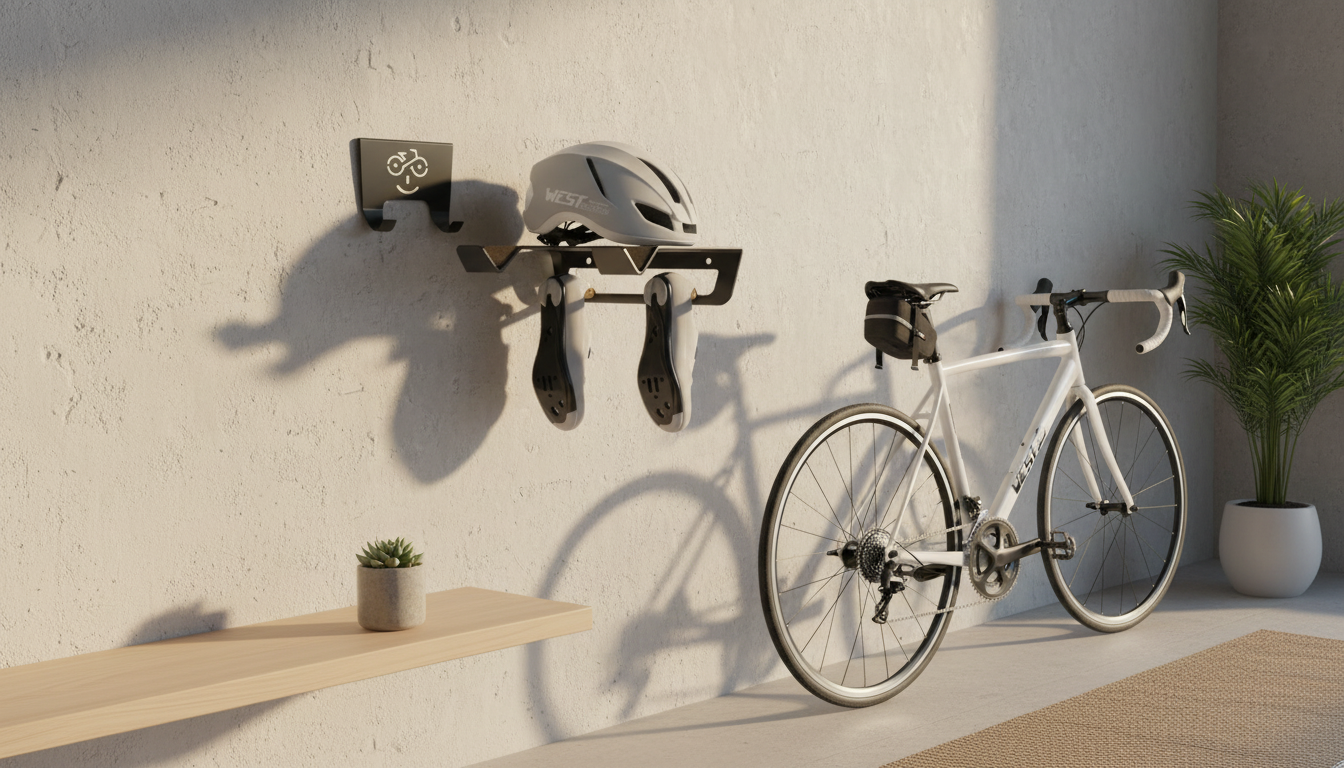
Wall Mount Bike Rack for Indoor Storage: A Clean, Secure Setup for Road and MTB Bikes
A wall-mounted bike rack turns unused vertical space into a reliable parking spot for a road or mountain bike—keeping the bike off the floor, reducing tip-overs, and making small rooms feel more organized. Done right, wall storage also helps protect paint, rotors, and tires from rubbing against furniture or getting scuffed in busy entryways. Below is a practical guide to choosing placement, confirming fit, installing with confidence, and keeping both your bike and your walls looking clean for everyday, stress-free storage.
Why a Wall-Mounted Rack Makes Indoor Storage Easier
- Frees floor space in apartments, garages, and narrow hallways by storing the bike vertically or close to the wall.
- Reduces accidental damage from bikes falling over or leaning against furniture.
- Helps keep drivetrains, rotors, and tires from rubbing against walls or carpet when parked correctly.
- Creates a consistent “parking routine,” which is especially useful for households with multiple bikes or shared spaces.
For workshops and home garages, a tidy bike zone also supports safer walkways and fewer trip hazards—an idea echoed in general guidance on keeping walking areas clear (see OSHA walking-working surfaces).
Compatibility Check: Road vs. MTB, Tire Size, and Handlebar Clearance
- Confirm the rack’s support method: hook-by-wheel, cradle-by-top-tube, or frame-contact arms—each interacts differently with fenders, carbon frames, and disc brakes.
- Measure handlebar width and the planned mounting height to prevent controls from hitting the wall or nearby shelves.
- Account for tire width and tread: wider MTB tires may need a deeper hook or larger cradle to avoid squeezing the tire or rubbing the rim.
- If using a front-wheel hook style, ensure the hook won’t contact spokes or brake rotor; a rubberized or coated contact point helps prevent scuffs.
Quick Fit Checklist for Indoor Wall Storage
| Item to Measure | What to Check | Practical Tip |
|---|---|---|
| Tire width | Hook/cradle clearance | Leave extra room for knobby MTB tires and mud |
| Handlebar width | Wall and side clearance | Stagger mounting positions for multiple bikes |
| Bike length | Walkway intrusion | Angle the bike slightly if the hallway is tight |
| Wheel size | Vertical height needed | Ensure the rear wheel won’t touch baseboards or outlets |
| Frame material/finish | Contact point protection | Use padded contact surfaces and avoid metal-on-paint contact |
Choosing the Right Spot on the Wall
- Pick a location that keeps the bike out of main walking paths while still being easy to lift onto the mount.
- Avoid mounting directly over delicate items (electronics, artwork) in case of accidental drops during loading/unloading.
- Consider dirt and moisture: placing a small mat under the bike helps catch debris from tires after rides.
- Plan for door swing, cabinet access, and closet clearance so the stored bike doesn’t block daily use areas.
If you’re organizing multiple bikes, treat the wall like a mini “parking lane.” Secure placement and predictable access are common themes in bicycle parking best practices (see Caltrans bicycle parking guidance for broader placement principles).
Safe Installation: Studs, Anchors, and Load Confidence
- Mounting into wall studs provides the most reliable hold; use a stud finder and verify with small pilot holes if needed.
- If studs aren’t available at the ideal spacing, use heavy-duty wall anchors rated for the combined load and leverage of a hanging bike.
- Use appropriate hardware for the wall type (drywall, concrete, brick) and tighten fasteners to the manufacturer’s guidance to prevent wobble.
- Re-check fasteners after the first week of use; loading cycles can reveal minor loosening that’s easy to correct early.
A helpful rule of thumb: wall mounts feel “strong” when they’re rigid. If the rack flexes or shifts when you test it with a firm tug, pause and correct the mounting method before hanging a bike. For general shop organization ideas and wall-mount approaches, Park Tool’s workshop resources can be a useful reference point (Park Tool).
Protecting the Bike and the Wall
Daily Use Tips for Faster Parking and Easier Access
Featured Indoor Wall Mount Option
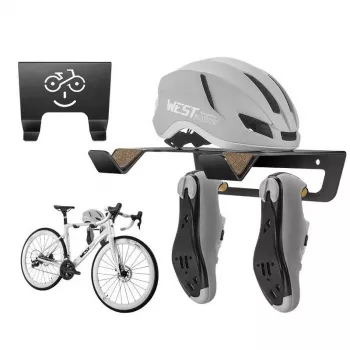
For a purpose-built solution designed for indoor storage, consider the Wall Mount Bike Rack – Indoor Bicycle Storage Hanger for Road & MTB Bikes. It’s a straightforward way to turn an empty wall into a stable parking zone while keeping your bike easy to grab for weekday rides and weekend adventures.
If you’re organizing a shared garage or mudroom, it can also help to store other sport gear neatly so the bike area stays clear—items like the Golf Cart Bag with 14-Way Divider can keep equipment contained rather than spread across the floor.
FAQ
Can a wall-mounted bike rack be installed on drywall?
Yes, but the safest approach is fastening into studs. If studs aren’t available where needed, use high-quality anchors rated for the load and follow the installation instructions for your specific wall type.
Will hanging a bike vertically damage hydraulic brakes or suspension?
Vertical storage is commonly used without issues as long as the bike is stable and not getting bumped. If a brake feels spongy after storage, a few lever pumps often restores normal feel; persistent softness typically points to air in the system rather than the storage position.
How high should a wall bike hanger be mounted?
It depends on wheel size, ceiling height, and how much clearance you need for handlebars, pedals, and baseboards. A practical method is to test-hold the bike in position, mark the hook point, and confirm the rear wheel won’t hit the floor trim while keeping the bike out of walkways.







Leave a comment