1300W Smoothie Blender: Glass Jar + Travel Cup
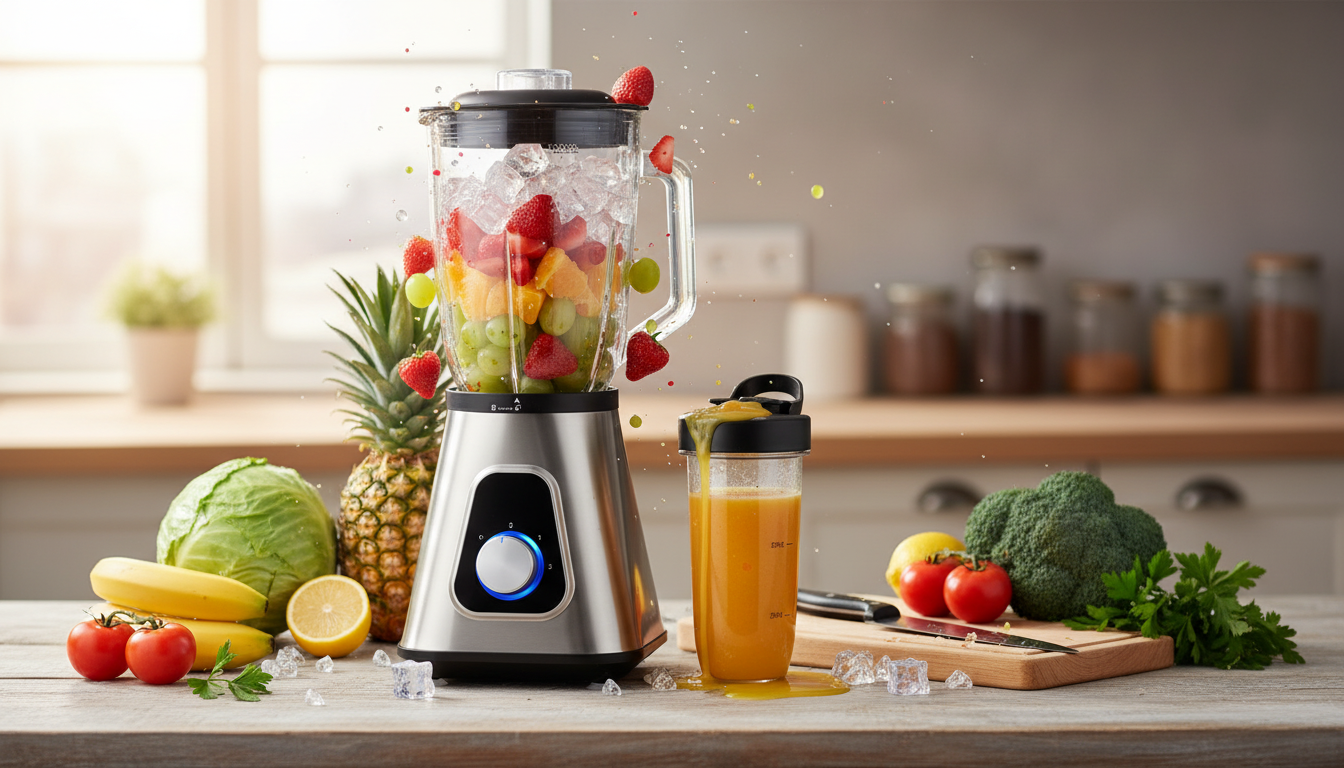
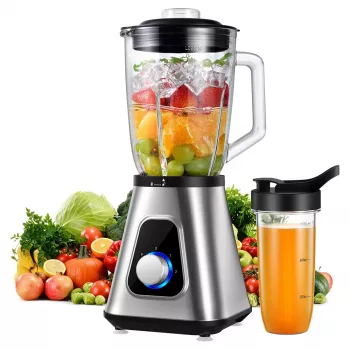
1300W Smoothie Blender with Glass Jar and Travel Cup for Drinks & Sauces
A high-powered countertop blender can simplify weekday smoothies, quick sauces, and iced drinks without adding extra cleanup. This guide breaks down what to expect from a 1300W blender that includes both a glass jar for batches and a travel cup for grab-and-go blending, plus practical tips that help you get smoother results with less fuss.
What this blender is designed to handle
A 1300W blender is built for everyday blending tasks where torque and consistent blade speed make the difference between “mostly blended” and truly smooth.
- Smoothies with frozen fruit and ice for thicker texture
- Protein shakes and breakfast blends that need consistent mixing
- Quick sauces and dressings such as salsa-style blends, pesto-like mixes, or vinaigrettes
- Crushing ice for cold drinks when using appropriate liquid ratios
- Small-batch blending in the travel cup for single servings
Why 1300W power matters in everyday blending
Wattage isn’t the only factor in performance, but it’s a practical indicator of how well a blender can keep the blades moving when ingredients get dense. With frozen berries, thick yogurt, oats, or fibrous greens, higher power helps maintain speed instead of bogging down.
- Helps reduce stalling when blending dense ingredients like frozen berries, nut butter, or fibrous greens
- Supports faster blend times, which can improve texture and reduce overheating from long runtimes
- Makes it easier to achieve smoother sauces by maintaining blade speed under load
- Still benefits from good technique: add liquid first, then soft items, then frozen or hard ingredients
Power and ingredient match-ups
| Task | Typical ingredients | Practical tip |
|---|---|---|
| Thick smoothie | Frozen fruit, yogurt, oats | Start on low, ramp up; add a splash of liquid if the vortex stops. |
| Iced drink | Ice, juice, citrus, sweetener | Pulse first to break ice, then blend to finish. |
| Creamy sauce | Roasted peppers, oil, herbs | Blend warm (not hot) for smoother emulsification. |
| Salsa-style mix | Tomatoes, onion, cilantro | Use short pulses to avoid over-pureeing. |
Glass jar + travel cup: when to use each
Having two containers changes how the blender fits into a routine. The glass jar covers family-size or batch recipes, while the travel cup is all about speed and portion control.
- Glass jar advantages: better odor resistance, less staining over time, useful for larger batches
- Travel cup advantages: convenient single-serve portioning, fewer dishes, ideal for quick morning routines
- Batch-prep approach: blend a base in the glass jar, then finish individual flavors in the travel cup
- For sauces: the glass jar is often easier for scraping and pouring; the travel cup suits small emulsions
If you’re making something thick (like a spoonable smoothie bowl base), the larger jar usually gives ingredients more room to circulate. If you’re making a quick protein shake before heading out, the travel cup can be the simplest “blend-and-go” setup.
Setup and blending technique for smoother results
Even a powerful blender performs best with the right load order and a few small habits that keep ingredients moving.
- Load order for better circulation: liquids first, then soft ingredients, then frozen/hard items on top
- Use pulses to start: break ice or frozen chunks before continuous blending
- If a blend stalls: stop and stir or add a small amount of liquid rather than forcing the motor
- Avoid overfilling: leave headspace for movement and expansion, especially with foamy ingredients
- For thicker sauces: scrape sides and re-blend briefly to eliminate pockets
For cold blends, a reliable rule is to include enough liquid to create a visible vortex. For sauces and dressings, add oil gradually (or in small increments) if you want a more stable, creamy texture. When working with ingredients that may be warm, follow basic safety guidance for handling and holding foods at safe temperatures from the FDA Food Code.
Cleaning and care for long-term performance
Blenders stay easier to use when cleanup is quick and consistent—especially around seals and the blade area where residue likes to hide.
- Rinse immediately after use to prevent residue from drying on blades and seals
- Quick-clean method: warm water + a drop of dish soap, blend briefly, then rinse thoroughly
- For odors: occasional soak with a baking soda solution; avoid harsh abrasives on seals and lids
- Dry components fully before storage to reduce musty smells
- Check gaskets and blade assembly periodically for buildup and proper seating
If you blend warm mixtures, let components cool before washing in very hot water to help preserve seals. And when you’re unsure about temperatures for food safety, the USDA FSIS guidance on kitchen thermometers is a helpful reference.
Common mistakes to avoid
Product snapshot
At-a-glance details
| Item | Detail |
|---|---|
| Product | 1300W Smoothie Blender with Glass Jar and Travel Cup for Drinks & Sauces |
| Price | 142.32 USD |
| Availability | In stock |
More in-stock picks
- Golf Cart Bag with 14-Way Divider
- 3-Level Modern Cat Tree with Scratching Pad, Cushions, Condo and Toy
FAQ
Can a 1300W blender crush ice and frozen fruit for thick smoothies?
Yes. The extra power helps with frozen ingredients, but the best results come from adding liquid first, using short pulses to start, and ensuring there’s enough liquid to form a vortex so the blades keep circulating ingredients.
When should the glass jar be used instead of the travel cup?
Use the glass jar for larger batches, thicker mixes that need more room to circulate, and recipes where scraping the sides or controlled pouring is easier in a wider container.
What is the easiest way to clean the blender after sauces or nut butter blends?
Rinse right away, then blend warm water with a small drop of dish soap for a few seconds and rinse thoroughly. Check around the seal and blade area for any residue and remove it before it dries.








Leave a comment